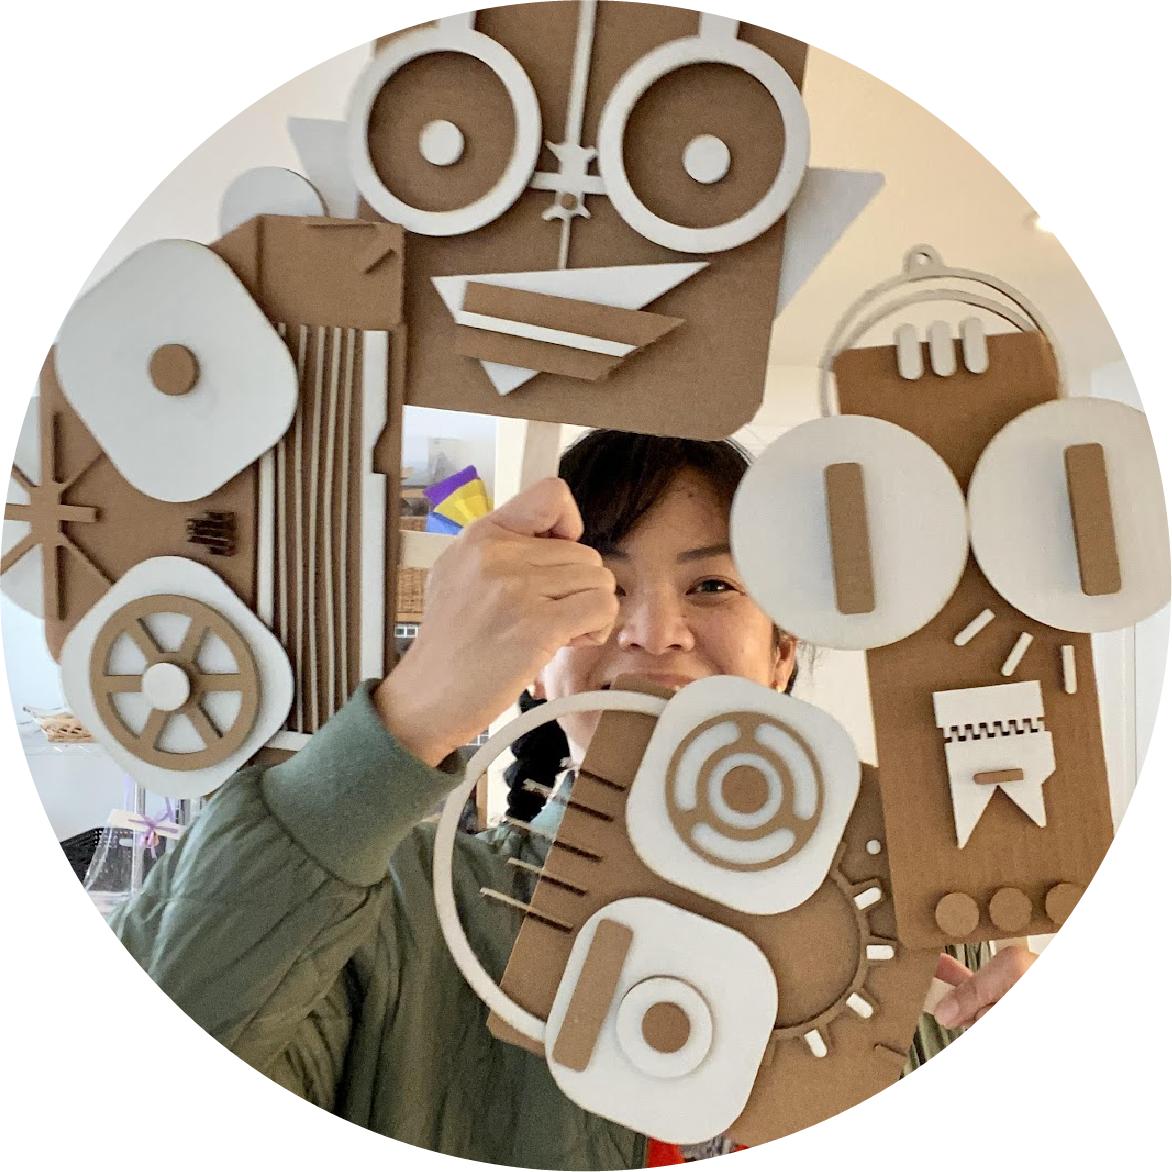

Paper bag puppets are a simple DIY craft project that kiddos readily make their own. All you need is a paper lunch bag and a marker to create puppet magic!
Are you looking for a quick and easy way to create pretend play magic with your child at home? Look no further than the humble brown paper lunch bag. Sure, they’re great for carrying PB&J, but they also hold infinite creative potential in the form of the paper bag puppet! Paper bag puppets are a simple DIY craft project that kiddos readily make their own through decoration, character creation, and storytelling. Not only that, puppet play can help your child develop speech and communication skills or learn to talk about and express feelings more effectively. All you need to get started is a paper bag and a Sharpie!
“THE MAGIC OF PAPER BAG PUPPETS!”

3 and up
5-30 minutes
Limitless

PAPER BAG PUPPET-MAKING: PREPARATION & SUPPLIES
Constructing paper bag puppets is as effortless or as complicated as you choose to make it. Really. Because this activity is appropriate for ages three and older, the time and complexity of the project can and should be adjusted accordingly. Prep time could take five minutes, 30 minutes, or an hour depending on your child’s age and engagement level.
First, you need some paper bags. Lunch-size bags are ideal for puppet-making, as they fit well over small hands. Plain brown kraft paper bags are the perfect blank canvas, but colorful paper bags work just as well. Lay the smooth side of the bag flat against your work surface, making sure the bottom flap is folded and facing up at the top of the puppet.
Second, you need a drawing tool. An ordinary black Sharpie or another marker will do the trick. Have your child draw a face on the paper bag flap; it could be a human face, an animal face, an alien face, or the face of a magical creature. And suddenly, you have a simple puppet!
If you and your child want to get even more creative, introduce other art supplies and encourage your kiddo to go wild! Use yarn for hair or fur. Bust out the googly eyes, stickers, glitter, glue sticks, scissors, construction paper, and paint. When we make puppets in The Rabbit Hole studio, we have pre-cut paper facial features and accessories available for the kids to color and apply to their paper bag characters. Try it at home if you’d like – the more structured approach helps some kids create more freely.

CHARACTER & STORY CREATION
When your child finishes making their puppet, you can help them develop the puppet’s character and personality by asking them questions. Does your character have a name? What is its favorite food? Where does it live? Does your puppet have a job or a favorite activity? If your puppet character could go on a fantastic adventure, what would they do? Where would they go? How do they feel today? Encourage your child to place the puppet on their hand and answer the questions in character.
Once your kiddo feels comfortable with their puppet character, they may want to build an entire story. You can support your child by offering parameters (“Let’s make a story that takes place in a magical frozen land!”), or allowing them to make all the creative decisions. Encourage your young one to tell the story through their puppet in whatever way makes them feel successful, and watch the magical creative sparks fly!

FUN FOR THE WHOLE FAMILY
Now that your child is a paper bag puppet expert, it’s time to get the whole family involved. Perhaps your child can use the same character creation prompts to help you or other family members make a puppet or two of your own. This conversation may inspire a new story incorporating all the paper bag puppets. Before you know it, you’re collaborating on a script, and you’ve got a full-blown puppet show on your hands!
If coming up with a wholly original story seems daunting, we suggest using the puppets to act out scenes from your kiddo’s favorite movies, audiobooks, or songs. These familiar stories allow you to be creative within a framework, eliminating the pressure of inventing dialogue or a brand new storyline. You, your child, and your puppets will find creative freedom in riffing on and expanding the stories you already know.
Finally, you may be wondering where you should stage your puppet show. The simple answer is anywhere. Feel free to sit around the kitchen table or on the living room floor. You don’t need a stage, but you can definitely make one if you want to! Just take a large cardboard box (the larger, the better) and cut off the backside, leaving a three-sided standing structure. Cut a square or rectangular opening in the front piece of the stage – it should be large enough to showcase the puppets and high enough that puppeteers can still have some cardboard to hide behind. Decorate your puppet stage with paint, curtains, or fairy lights if you wish.